Creating an Amazon baby registry is a great way to not only keep track of things to buy for your little one but also allow friends and family to gift them. While not everyone knows how to create a baby registry on Amazon, it’s a worthwhile process that’s easy to learn.
Having a universal registry is a smart choice for all parents to be. It can save money on your baby shower and help avoid awkward situations when receiving duplicate presents.
Since Amazon has emerged as the best platform for hosting a baby registry, I’ll discuss how Amazon baby registries work and how to create one.
Let’s begin.
How to Set Up an Amazon Baby Registry In 4 Easy Steps
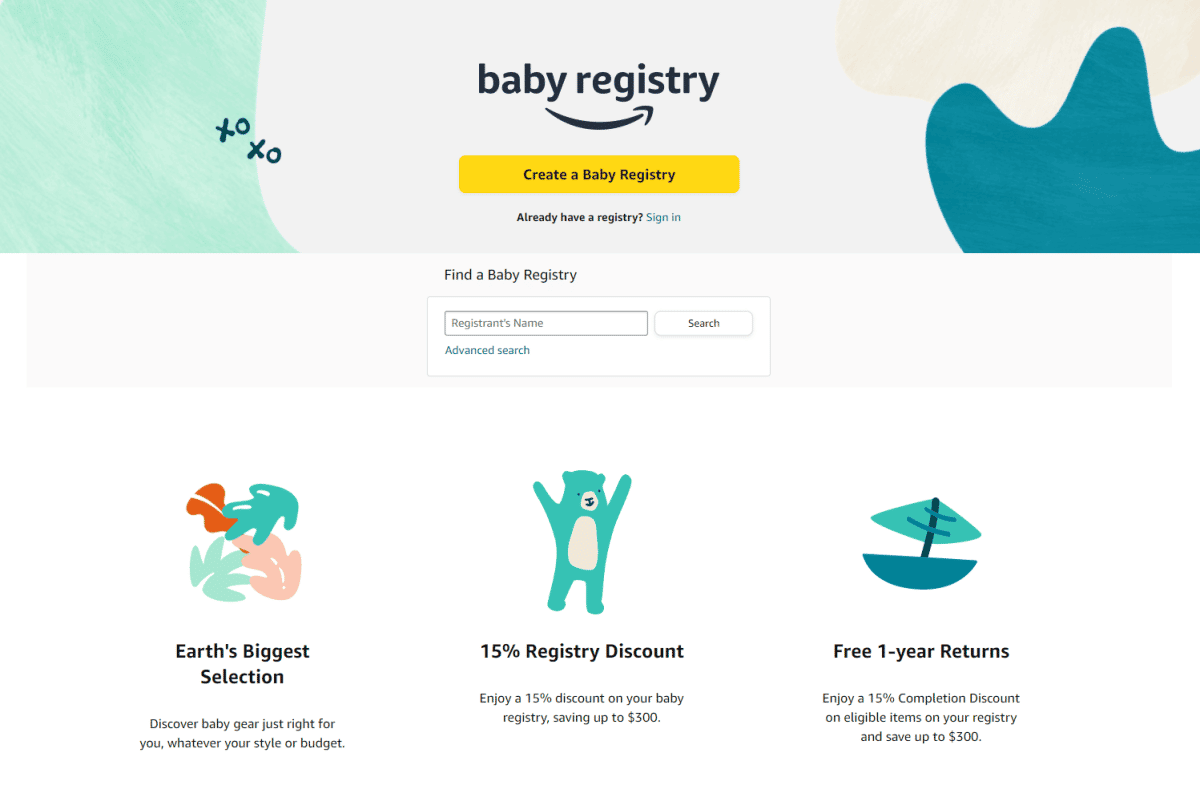
Creating a registry on Amazon is incredibly simple. Follow these four steps, step by step, to get your Amazon baby registry page up and running.
Step 1: Create Your Amazon Baby Registry
Create a new baby registry on this website. You’ll see a page asking you to log in to your account or create an Amazon account if you don’t have one yet.
Step 2: Fill Out Your Personal Details
After signing up, fill out basic details about yourself, the baby, and how you want to receive presents.
The shipping address is crucial. Choose an address where you’re sure someone will always be available to receive your delivery.
Pay attention to Gift Options. This option lets you sign up for a Diaper Fund, register for Amazon gift cards, or permit group gifting for items that cost more than a specific amount.
By registering for Amazon gift cards, people get the option to send you a gift card with a specific credit amount instead of buying baby products themselves. It’s an excellent choice for those who want to save money.
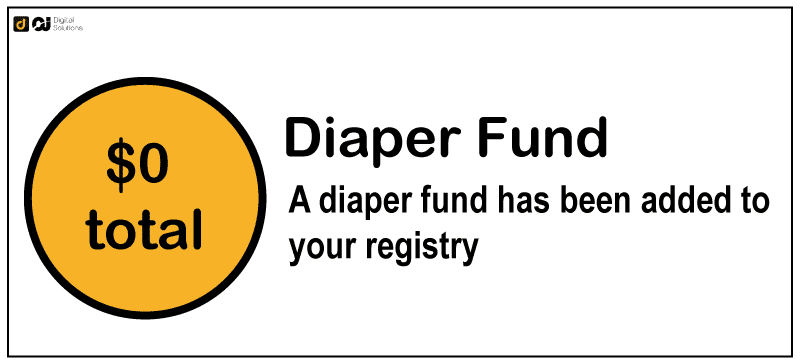
The Diaper Fund allows you to invite your friends and family to donate money for diapers, up to a maximum of $550. Donations are accepted in the form of Amazon gift cards. You can use them to buy anything on Amazon, not just diapers.
Finally, permitting group gifting for items over a specific amount allows people to give whatever they want to. You won’t have to restrict your list to inexpensive goods.
You can configure your registry’s accessibility in three ways:
- Make it accessible to everyone so that they can view it online
- Make it accessible only to people you have shared it with. You’ll get a private link for this option
- Keep your register private. It will only be visible to you and other co-registrants
Amazon will notify you if someone purchases an item on the registry or if there are special offers. You can also subscribe to the Amazon Registry Newsletter for exclusive discounts.
Step 3: Add Items to Your New Baby Registry
Amazon will redirect you to a page where you can add list items to your newly created baby registry. There are two steps to this process:
- Open the registry checklist. You’ll see an organized list of baby necessities created by Amazon
- Open a single product page on Amazon and add that item to your baby registry
Changing or removing items from the list is easy. If you need some of the baby items immediately, you can buy them directly. Amazon even allows returns if you’re not happy with a product.
You will find a couple of quick access links to important menus at the top of your registration page.
- Registry Settings: This is where you can modify your settings at any time.
- Add Items: Select this option to begin creating your wishlist.
- Registry: You can find the Share Registry button in this menu to send the shareable link to family and friends.
- Welcome Box: Access Amazon’s surprise welcome box for parents and babies after completing the baby registry process.
- Completion Discount: Discover exclusive discounts of up to 20% off when you complete a purchase with the Diaper Fund. Future mothers who opted to include a Diaper Fund in the registry settings can quickly see the total donations. You can also use the discount for your Prime membership or Amazon Family membership.
Step 4: Share Your Baby Registry With Friends and Family
Once the baby registry is complete, it’s time to let friends and family know.
To do this, simply click Share Your Registry. You’ll get a URL that you can share with anyone you would like to receive presents from. There’s also an option to set the registry publicly available if that’s what you prefer.
People with the link can sort your wishlist by cost and priority. All previously purchased items will be marked accordingly to prevent double gifting.
What Should You Include in Your Baby Registry?
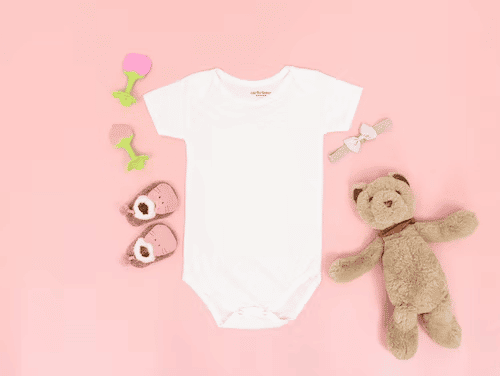
Source: https://unsplash.com/photos/PKdcZz-o6bw
Finding things to put on your wishlist can be a little more difficult than you think. It’s recommended to include items you won’t need right away since most folks give gifts after the baby is born.
Besides essentials, you should also consider adding one or two pricey items to your baby registry. You can never go wrong with essentials like clothing, plush toys, and blankets.
How Should You Use the Amazon Baby Registry Checklist?

You can find the Checklist button at the top menu, along with Registry Checklist. Amazon has a baby registry lookup feature in which you can choose items from 12 separate categories, each with several themes. You can also expand categories into further subcategories by clicking on them.
Easily add products by clicking Add to Registry in each product box. Click on the item to view more detailed information, like the description and reviews.
Tick the box adjacent to the subcategory after registering all the items you need in that section.
How to Return an Amazon Registry Gift
To return an order, head to the Thank You & Returns page and select the item you want to send back. Amazon makes this process painless with their Online Return Center.
Can You Have More Than One Baby Registries?
Yes. You can have more than one registry, but they won’t all be concurrently active and accessible by the public. Your first active registry will become inactive by default as the second baby registry takes its place.
With that said, it’s a good idea to delete or archive the first baby registry (for the first child) and create a new Amazon baby registry for each child.
How to Create a Second Amazon Baby Registry
There are three ways to create a second Amazon baby registry:
- Delete the previous registry and activate a new one.
This is an excellent option if you no longer require any items from your first registry or have a second baby you want to start a new registry with.
- Add new products to your old registry.
Editing an existing registry even after all the items have been crossed out. However, you won’t be able to receive an Amazon free welcome box if you choose this option.
- Erase your old registry and start over.
Be careful when selecting this option. It will wipe all data of your previous registry, but according to Amazon, any unused rewards and promotions will be forfeited.
Conclusion
With the Amazon baby registry, getting baby gear for your little one is easier than ever. Even better, you can choose from Amazon’s massive selection of baby products.
Make sure to create a complete list of items you want — throw in a couple of expensive items there as well to maximize the opportunity. Your friends and family will certainly love giving gifts to your baby.
If you enjoyed this post, visit our blog for more Amazon articles like this. You can discover tips on improving your experience on the platform, like how to report Amazon sellers that gave you a bad time.
See you in the next one!

